These steps will go through the process of adding a network printer to your Windows computer. If you work at a branch, your printers should be automatically installed on your computer.
1. Click on the Start Menu button
Search for and select "Printers & scanners"
2. Choose Add a Printer

A list of options may appear. Scroll to the bottom of the list and select the following link:

3. Select a shared printer by name
In the "Find a printer by other options" window, choose "Select a shared printer by name"

4. Search for the printer you want using the Print Server Machine Name
You can typically find the printer you are searching for by typing in \\PrintServer\ followed by the printer's model number.
The printer will usually have its model number listed on the front of the physical machine.
Often, if you just type in the printer server name, you can generate a list of all the printers at that location by typing in the first few letters of the branch's abbreviation.
For example, if you look at the image below, I have typed in \\PrintServer\FFL and it has populated a list of FFL printers for me.

5. Once you have found the printer you want, Click Next
The printer will install.

7. Once it is done installing, press Next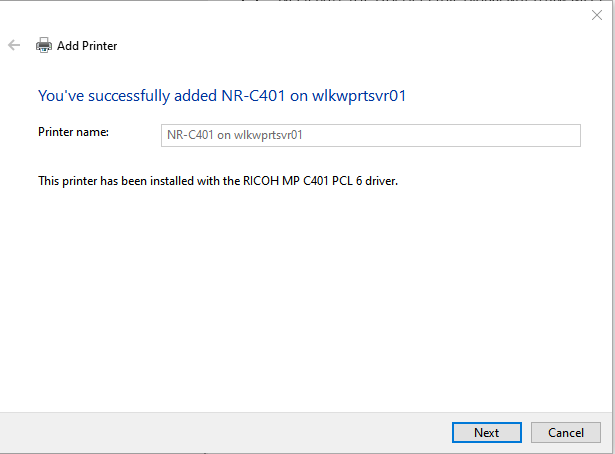
8. Finishing step
The last screen asks if you want that printer to be set as the default printer.
You can also print a test page from this screen, to verify that the printer is working properly.
When done, click the Finish button.
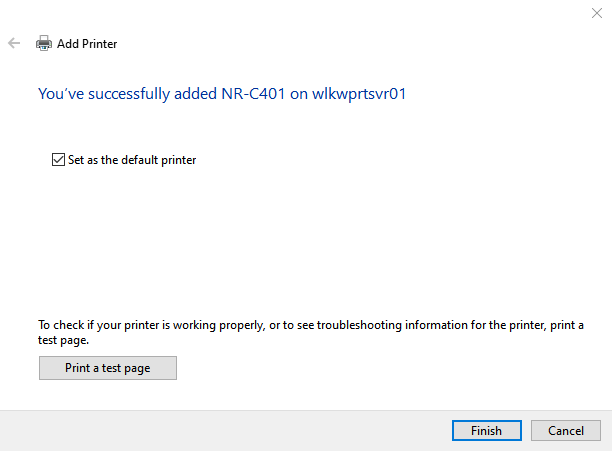
Your printer has now been installed.
If you are a Cleartouch user, you can set this printer as your main Laser printer, for example, in Cleartouch: File --> Printer Setup.
